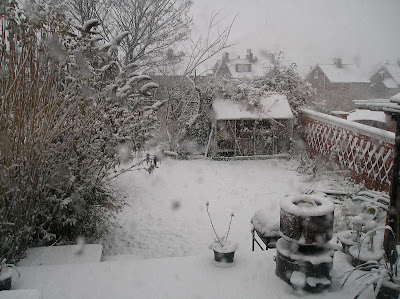
We live in Yorkshire, in the North of England and to be honest it hardly ever snows these days. We have had White Christmases in the past but probably 20+ years ago. If it does snow it is usually in February. We have been having very cold weather lately and today it is snowing heavily. To be honest we are not really set up for snow in this country - we only just made it back home after a trip to the supermarket. We do live on a hill but really my little Fiat Panda was not happy. So now I will spend the rest of the afternoon sewing, keeping warm and hoping that Jonathan is not working tonight as he left his wellies in the mud at Leeds Festival in August and the only shoes he has without holes are the Nike trainers I have bought him for Christmas which cost £70!
Anyway the main subject of this post is my new Christmas wallhanging which I made a few weeks ago from Cheryl Goss's design. She trades as Willowberry designs and this stitchery pattern was a freebie on her blog which you can find here.
It is only about 14 inches square but was very quick and enjoyable to stitch. She made hers into a bag but I decided a wallhanging was best for me.
This is a blog to record my quilting journey. Quilting is my passion. I make quilts, teach patchwork and quilting in South Yorkshire UK and am the co founder of 3 Quilt Groups in Yorkshire.
Sunday, 20 December 2009
Friday, 18 December 2009
Image Transfer
This is one of my City & Guilds pieces but I thought I would share it as I am quite pleased with it. However I have really struggled to get a good photo of it so it does look better in real life.
I printed Jonathan's photo in black and white onto some lightweight vilene. I backed this with white cotton and then stitched the coloured lines using my twin needle with red in one and orange in the other.
I then layered it with wadding and backing and quilted it with a silver metallic thread.
I printed Jonathan's photo in black and white onto some lightweight vilene. I backed this with white cotton and then stitched the coloured lines using my twin needle with red in one and orange in the other.
I then layered it with wadding and backing and quilted it with a silver metallic thread.
Saturday, 5 December 2009
Photo manipulation
This weekend I have realised that I need to get on with my homework for college next weekend. The topic for this month is image transfer and one of the first things I had to do was digital photo manipulation using computer software.
I didn't know where to start with this but luckily Hazel came to the rescue with some free internet software that you can find here.
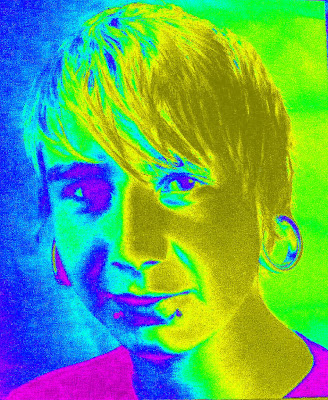
So I started with a photo of Jonathan my eldest son and tried to get some Andy Warhol effects.
This was the best one.
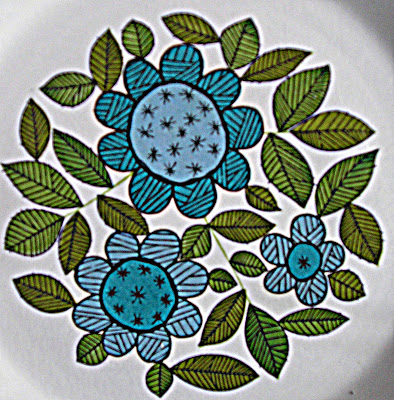
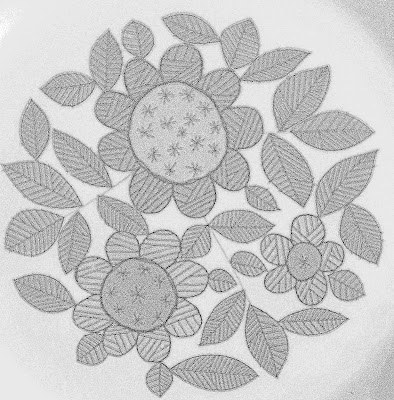
Then I used a photo of one of my 1960s plates I am using for my personal theme this year.
Tuesday, 1 December 2009
Quilting the Halloween Quilt
This last weekend I decided to try basting my Halloween quilt using Sharon Schamber's method. You can see how to do it by viewing this free video.
http://www.sharonschambernetwork.com/free_area/videos/basting/index.html
First I rolled my quilt back and quilt top onto long pieces of wood - I actually bought wood meant for pine cladding.
Here you can see the ends of the wood to give you a better idea.
http://www.sharonschambernetwork.com/free_area/videos/basting/index.html
First I rolled my quilt back and quilt top onto long pieces of wood - I actually bought wood meant for pine cladding.
Here you can see the ends of the wood to give you a better idea.
The backing is unrolled to a forearm width - elbow to hand. Lay the wadding on top - mine is the black stuff. Then unroll the quilt top, smoothing it all out.
I then basted using Sharon's herringbone stitch - this is very easy to do but I couldn't do it with a thimble so it did make my right index finger very sore!
Then you move the quilt towards you over the side of the table and unroll the next portion.
I then basted using Sharon's herringbone stitch - this is very easy to do but I couldn't do it with a thimble so it did make my right index finger very sore!
Then you move the quilt towards you over the side of the table and unroll the next portion.
I basted the whole quilt by this method which took a couple of hours. I have started quilting and am very pleased with how the layers seem to be kept together very well.
I have been thinking a lot about the actual quilting of quilts recently as it is an area where I could improve. I have always thought the quilting was less important than the piecing but now I am coming to realise that the quilting is just as important, if not more important. So I am using this quilt to pracise my skills, try to get balanced overall quilting which complements the piecing and most importantly of all make sure that the quilt hangs properly without the dreaded wavy edges.
Basting was my first area of research as I was not very happy with the safety pin method I have used in the past. After seeing Sharon's quilts in Paducah I realised there was much I could learn from this very talented quilter. I suggest you have a look at her free videos.
I will keep you updated with my progress.
Subscribe to:
Posts (Atom)